
Japanese inspired fashion is one trend that seems to never vanish from American fashion, much like plaid button-up shirts. One aspect of Japanese fashion that seems to have never gone out of style is the traditional kimono. I have some from my grandmother’s and her mother’s closets that they have had since the 70s and on. Of course with time comes change, so they are not styled as traditionally as they once were. I came across Kimono cool takes over the street over on H&M’s website which, I think showed great variations of the kimono. Not too long after, I made the decision to shop for one. Many of the jackets resembled this one and started at $50. My dad has always stressed to me, “Don’t buy it if you can make it and save money in the process.” Quickly I concluded that I was going to make one and save myself $50+.


What You’ll Need:
- fusing
- fabric scissors
- large square scarf or a large square of fabric (I got my scarf from H&M but you can find cheaper ones at the thrift store if you really want a bargain.)
- iron
- pins
- ruler

1) First iron your fabric then lay flat face side down. Fold the fabric in half, or 3/4 of a way depending on the length of your fabric or how long you want the back in comparison to the front, then in half once more.

2) Next you can mark a line down the center then unfold the fabric once, or just cut along the outermost fold. Be careful not to the cut the inner fabrics.

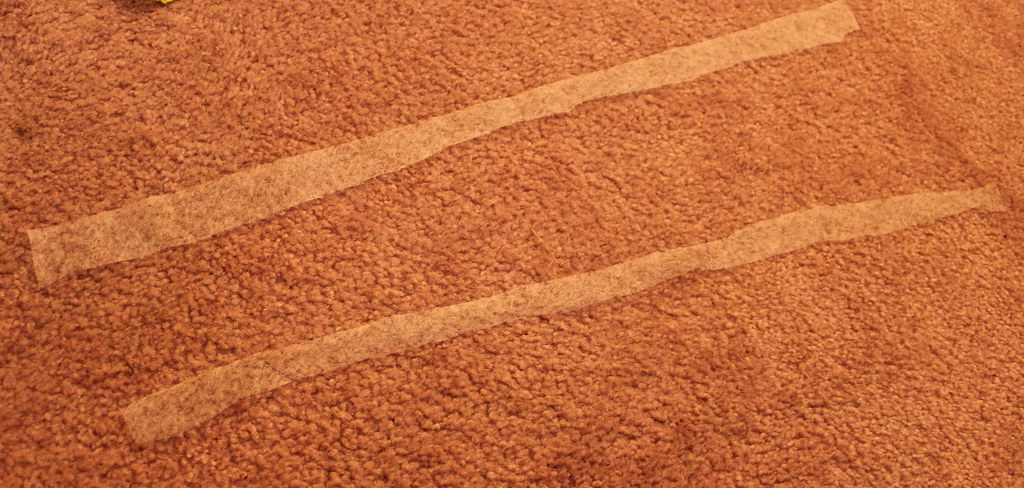
3) With the fabric laying in half, match the fusing along the cut line and cut two strips that is roughly half an inch in width. (Example)

4) Fold the cutline inward half an inch. (You can use a ruler for this part or just eyeball it. You can also iron the fabric fold prior to adding the fusing, but be careful not to melt the fusing just yet.) Grab one of the strips of fusing you cut and lay on the top. Do not iron yet!

5) Fold the fabric and fusing over a half an inch and pin.

6) Iron the fold, taking the pins out as you go along. (There should be specific ironing instructions on the paper that comes attached to the fusing.)

7) Now for the sleeve! About half-way down the outermost sides of your fold fabric, measure and mark the sleeve half way down. Cut a small piece of fusing. It can be square or rectangular. Place the fusing in-between the inner part of your fabric and iron.

It should look like the above.
There you have it!

Word count: 441

Yes! Just what I’ve been looking for. Many thanks!!
You’re very welcome!
Looks amazing! 🙂
Thanks. I appreciate that comment. 🙂
Another cool project and post — nice work!